Dealing with burns
First-Degree Burns in Children: Common Misconceptions and Facts Every Parent Should Know
Published
3 years agoon
As parents, it’s crucial to understand first-degree burns and how to provide the right care for our little ones. In this article, we’ll debunk common myths surrounding first-degree burns, explore important facts about them, discuss immediate first aid, share home remedies, highlight signs that indicate medical attention is required, offer prevention tips, and provide a recap of key points. Let’s dive in and ensure we have the knowledge to protect and care for our children.
I. Debunking Common Myths about First-Degree Burns
Myth 1: “First-degree burns are not serious, so no medical attention is required”
First-degree burns, although considered minor, should never be overlooked. Even seemingly small burns can have potential complications if left untreated. The damage caused by a burn can extend beyond the visible skin surface, affecting deeper layers. Immediate care is essential to prevent infection, promote healing, and minimize the risk of scarring.
Myth 2: “Butter or oil can help soothe a first-degree burn”
Applying butter or oil to a burn is a common myth that should be avoided. These substances can actually trap heat and worsen the burn. Instead, it’s important to follow appropriate first aid measures, such as cooling the burn with cool running water, which helps dissipate the heat and provide relief.
II. Understanding the Facts about First-Degree Burns
Definition and characteristics of first-degree burns
First-degree burns are superficial burns that affect only the outer layer of the skin. They are characterized by redness, pain, and mild swelling. Blisters are generally not present with first-degree burns. Understanding the specific features of these burns helps differentiate them from more severe burn types.
Common causes of first-degree burns in children
Children are susceptible to first-degree burns due to various factors. Common causes include accidental contact with hot objects, scalds from hot liquids or steam, sunburns, and exposure to chemical irritants. Being aware of these causes empowers parents to take proactive measures to prevent such incidents.
Description of the symptoms and visual appearance of first-degree burns
First-degree burns typically present as reddened skin, which may be painful or tender to the touch. The affected area may also exhibit mild swelling. It’s essential to recognize these symptoms to provide appropriate care promptly.
III. Immediate First Aid for First-Degree Burns
Step-by-step guide on how to provide initial care for a first-degree burn
- Start by moving the child away from the source of the burn.
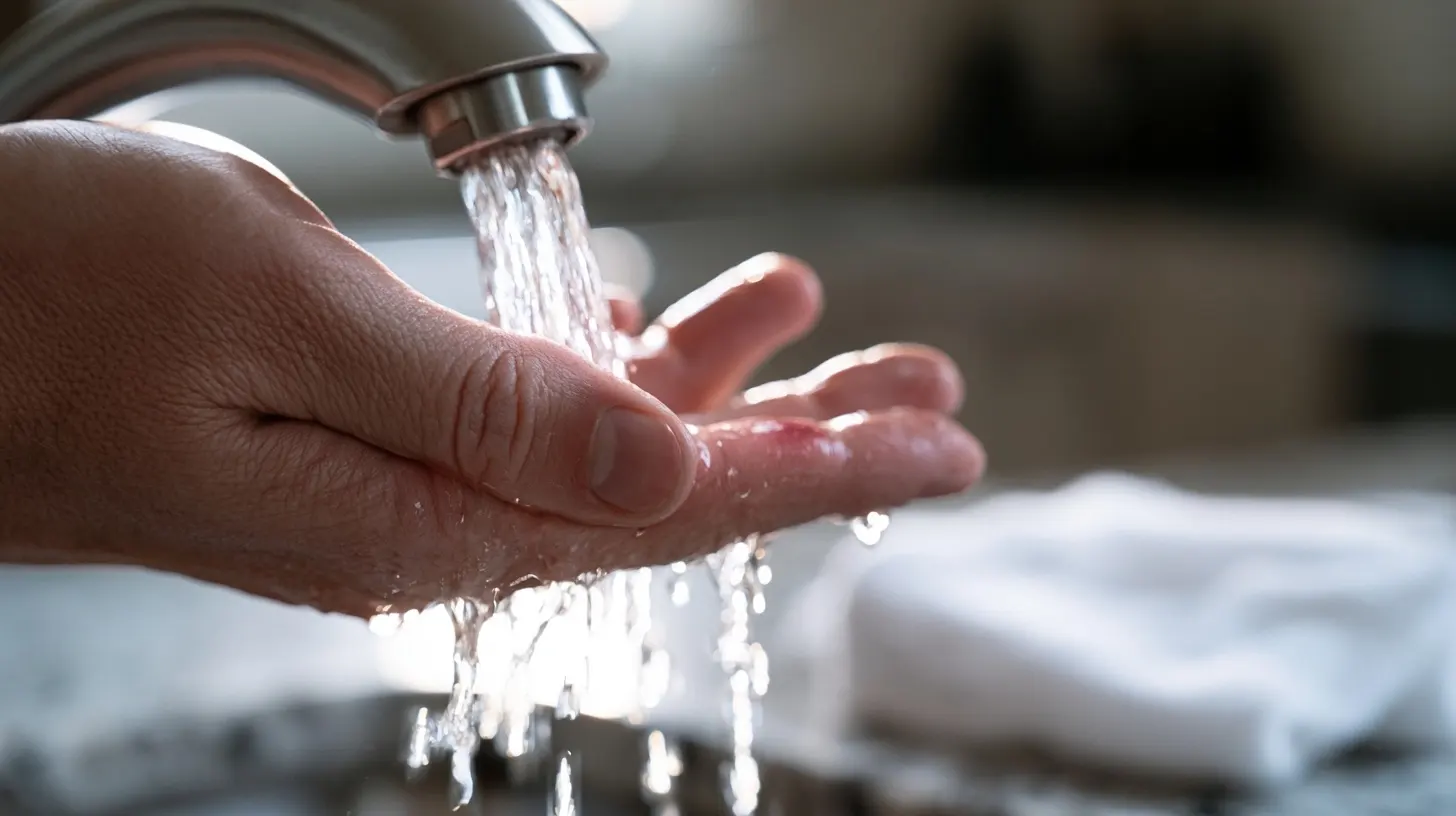
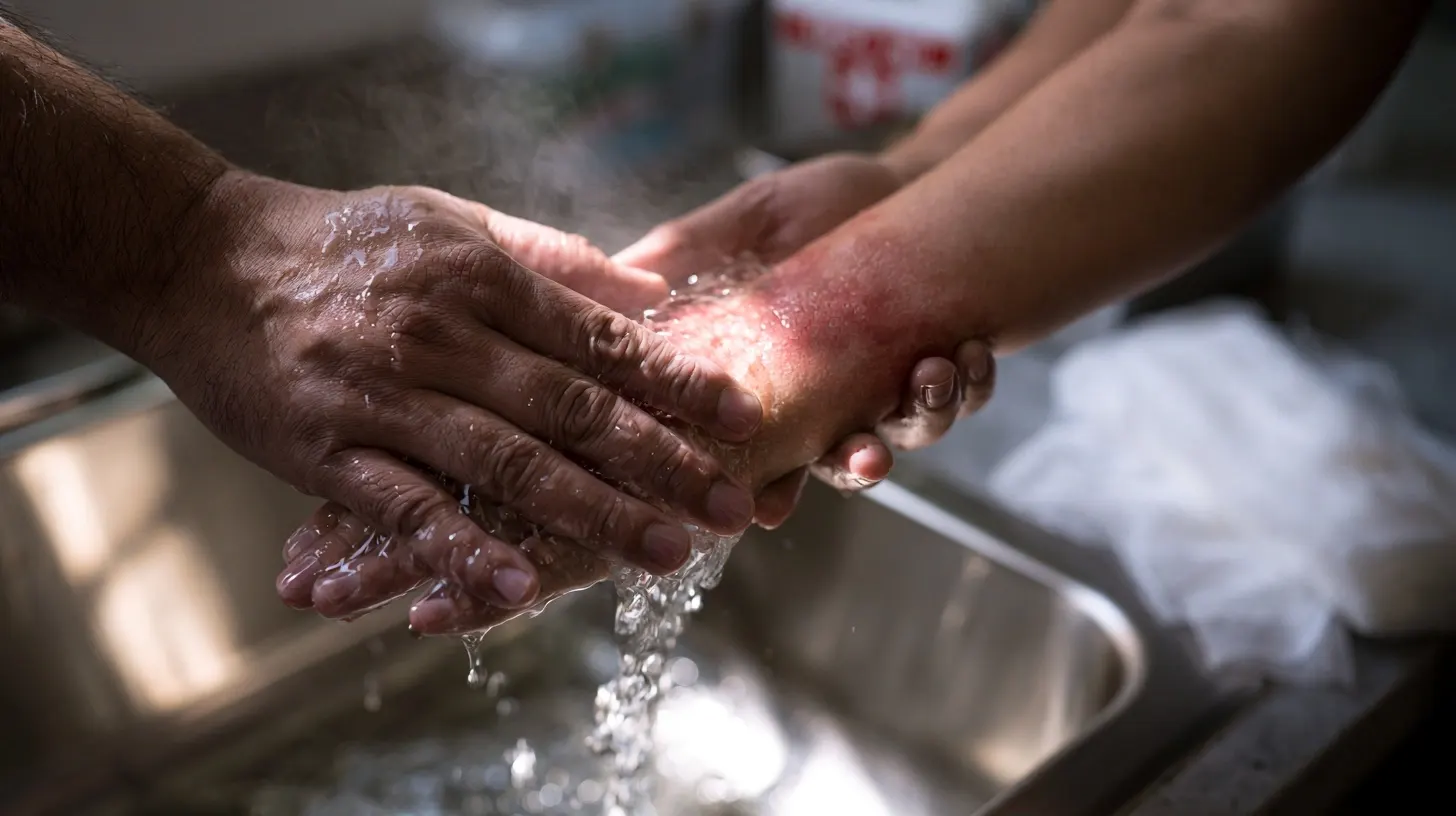
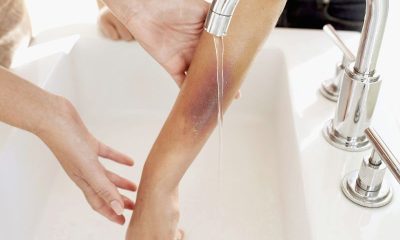
- Run cool, not cold, running water over the burn for about 10-20 minutes to cool the skin.
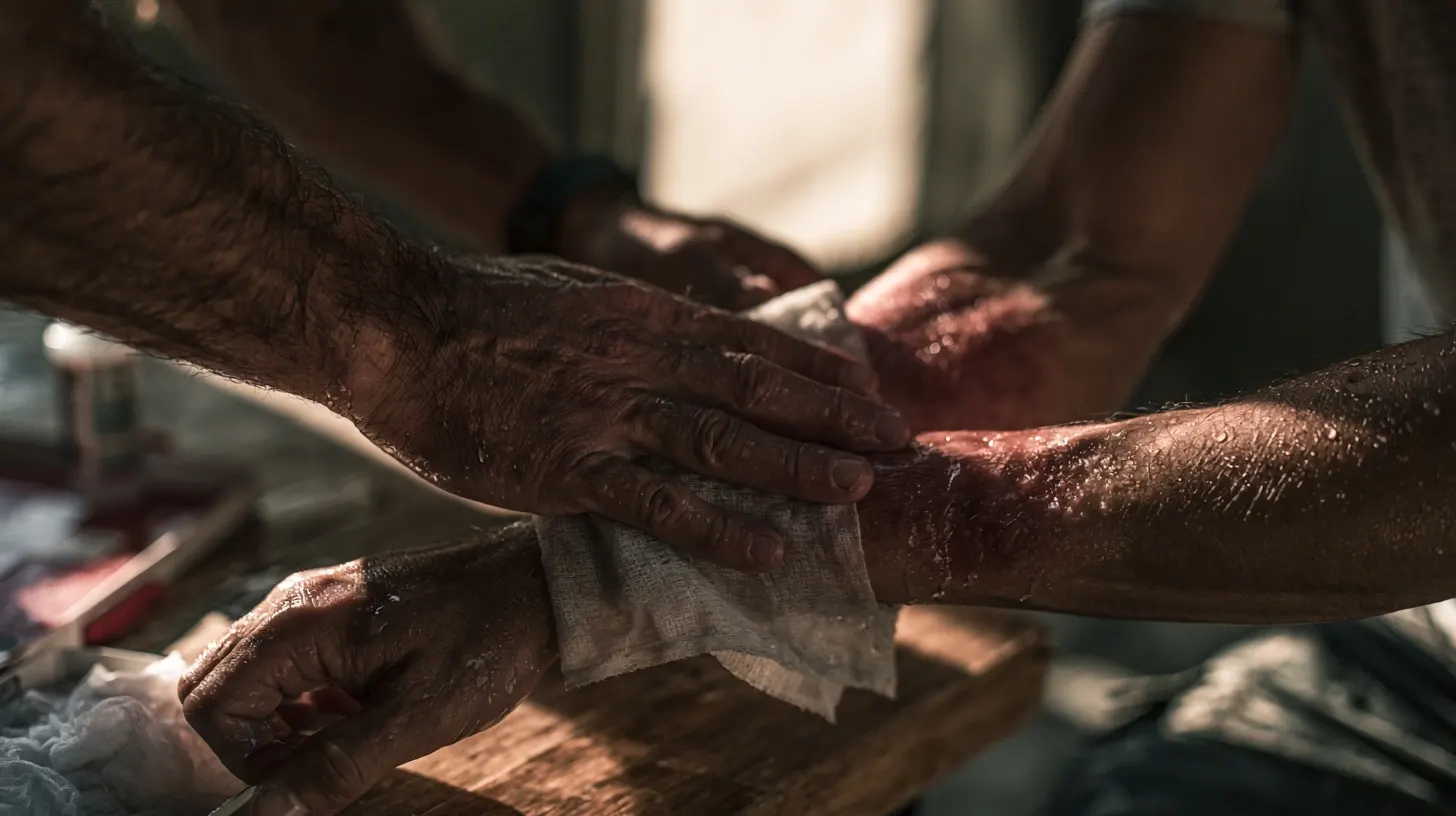
- Gently pat the burn dry with a clean, soft cloth.
- Avoid applying ice, adhesive bandages, or any greasy substances to the burn.
Emphasize the importance of cool running water as the first response
Cool running water is the most effective initial treatment for first-degree burns. It helps dissipate the heat, reduce pain, and prevent further damage. Remember to use cool water, as cold water can cause discomfort and potentially damage the skin further.
Explaining the duration and temperature of water for effective cooling
Ensure the cool running water is at a comfortably cool temperature, around 15-25 degrees Celsius (59-77 degrees Fahrenheit). The water should be continuously applied for 10-20 minutes to effectively cool the burn and alleviate pain. If the pain persists, consult a healthcare professional.
IV. Home Remedies and Treatment for First-Degree Burns
List of safe and effective home remedies for soothing first-degree burns
While professional medical attention is recommended for severe burns, there are several home remedies that can help soothe first-degree burns:
- Applying aloe vera gel, known for its cooling and healing properties.
- Using cold compresses or clean, damp cloths to alleviate pain and reduce inflammation.
- Using over-the-counter burn creams or ointments specifically designed for minor burns.
Advising against using ice or adhesive bandages on the burn
It’s important to avoid applying ice directly to a burn as it can cause further damage to the skin. Similarly, adhesive bandages can stick to the burn and disrupt the healing process. Stick to the aforementioned home remedies or seek professional medical advice for appropriate treatment.
V. Signs that Indicate Medical Attention is Required
Indicating situations when medical attention is necessary for a first-degree burn
While most first-degree burns can be treated at home, certain signs indicate the need for medical attention:
- The burn covers a large area or is located on the face, hands, feet, or genitals.
- The burn exhibits signs of infection, such as increased redness, warmth, swelling, or pus.
- The pain becomes severe or persists despite home remedies.
- The burn shows no signs of improvement after a few days.
Highlighting signs of infection, increasing pain, or lack of improvement
Parents should monitor the burn closely for any signs of infection, such as increasing redness, warmth, swelling, or the presence of pus. Additionally, if the pain intensifies or fails to improve with home care within a few days, seeking medical attention is advised.
Urging parents to consult a healthcare professional for expert advice
When in doubt or if the burn exhibits concerning symptoms, it’s always best to consult a healthcare professional. They can provide accurate assessment and appropriate treatment recommendations based on the specific circumstances.
VI. Preventing First-Degree Burns in Children
Providing practical tips for preventing first-degree burns at home and outdoors
Prevention is key in protecting children from first-degree burns. Here are some practical tips:
- Keep hot objects, such as cooking utensils and beverages, out of children’s reach.
- Set water heaters to a safe temperature (around 48-49 degrees Celsius or 120-125 degrees Fahrenheit).
- Use stove guards and secure pot handles to prevent accidental spills.
- Teach children about the dangers of hot surfaces and the importance of wearing shoes outdoors.
- Apply child-safe sunscreen to protect against sunburns.
Promoting awareness of potential burn hazards, such as hot objects and liquids
Awareness of potential burn hazards is crucial for prevention. Educate children about the dangers of hot objects, stovetops, open flames, and hot liquids. Encourage caution and mindfulness around these hazards to minimize the risk of burns.
Encouraging the use of protective measures, such as sunscreen and proper clothing
Using sunscreen with a high SPF and ensuring children wear protective clothing, hats, and sunglasses helps shield their delicate skin from the sun’s harmful rays. Additionally, proper clothing can provide a barrier against potential burn risks.
Frequently Asked Questions (FAQs)
Q1: Can I use toothpaste on a first-degree burn?
A: It’s not recommended to use toothpaste on burns as it can worsen the condition. Stick to cooling the burn with cool running water and using appropriate home remedies like aloe vera gel or cold compresses.
Q2: Should I pop the blisters that form after a first-degree burn?
A: No, it’s best to avoid popping the blisters. They serve as a natural barrier against infection. If they burst on their own, keep the area clean and apply a sterile bandage.
Q3: How long does it take for a first-degree burn to heal?
A: Healing time varies depending on the individual and the size of the burn. In general, first-degree burns heal within 1 to 3 weeks with proper care and precautions.
Q4: Can I use an adhesive bandage on a first-degree burn?
A: It’s advised to avoid adhesive bandages directly on the burn as they can stick to the skin and disrupt the healing process. Instead, use non-stick sterile dressings or consult a healthcare professional for appropriate wound care.
Remember, always consult a healthcare professional for personalized advice and treatment recommendations.
Conclusion:
In conclusion, understanding first-degree burns in children is essential for parents. By dispelling common myths, understanding the facts, providing immediate first aid, utilizing appropriate home remedies, recognizing signs that require medical attention, and implementing preventive measures, parents can confidently care for their children and minimize the risk of first-degree burns. Stay informed, take action, and prioritize your child’s safety and well-being.
You may like
-
Caring For Your Heart: The Impact Of Mental Wellbeing
-
Beyond Medication: The Role of Exercise in Parkinson’s Management
-
Unveiling Hidden Allergens in Your Everyday Beauty Routine
-
Lifestyle Habits to Strengthen Your Flu Immune System
-
Natural Remedies for Head Bump Relief
-
Return to Play Guidelines for Children with Minor Head Injuries
Dealing with burns
How to Safely Treat a Minor First-Degree Burn
Published
2 weeks agoon
August 14, 2026
Most first-degree burns heal well at home when we treat them quickly and correctly. We run cool water over the burn for 10–20 minutes, avoiding ice or butter, which worsen tissue damage. We then apply aloe vera gel or petroleum jelly and cover it loosely with a sterile, non-stick bandage. We watch for spreading redness, pus, or fever, which signal infection. There’s much more to know about each step of this process.
How to Tell If Your Burn Is First-Degree
First-degree burns affect only the outermost layer of skin, the epidermis, and are the least severe of all burn classifications. Recognizing burn symptoms early guarantees we initiate appropriate care and supports an ideal healing process. You’ll typically observe redness, minor swelling, and localized pain at the site—there’s no blistering, which distinguishes first-degree burns from second-degree injuries. The skin remains intact, dry, and may appear slightly shiny. Causes commonly include brief contact with hot surfaces, mild sunburn, or quick steam exposure. Pain usually subsides within hours, and the healing process completes in three to five days without scarring. If you’re uncertain about the burn’s classification or notice worsening symptoms, consult a healthcare provider immediately for professional assessment.
Cool the Burn Down the Right Way
Once we’ve identified a burn as first-degree, our immediate priority shifts to cooling the affected tissue correctly. Improper cooling worsens tissue damage, so precision matters.
Run cool (not cold) water over the burn for 10–20 minutes. Avoid ice, butter, or toothpaste—these intensify cellular injury.
| Method | Recommended? |
|---|---|
| Cool running water (15–20°C) | ✅ Yes |
| Cold compresses | ✅ Yes |
| Ice packs directly on skin | ❌ No |
| Butter or oils | ❌ No |
| Soothing ointments (aloe vera) | ✅ Yes |
Cold compresses offer a controlled alternative when running water isn’t accessible—apply for 10-minute intervals. Once cooled, soothing ointments like pure aloe vera gel reduce inflammation and support epidermal recovery without occluding the wound.
What to Put on a First-Degree Burn
Topical treatment determines how well the skin heals after cooling. We recommend avoiding common home remedies like butter, toothpaste, or oil-based products—these trap heat, introduce bacteria, and impair healing. Evidence consistently shows these substances worsen outcomes rather than improve them.
Instead, we should apply over-the-counter treatments that support the skin’s recovery. Aloe vera gel remains the most evidence-backed option, reducing inflammation while maintaining moisture balance. A thin layer of petroleum jelly also works effectively, creating a protective barrier without clogging pores or disrupting cellular repair.
If aloe or petroleum jelly aren’t available, a fragrance-free, water-based moisturizer is an acceptable alternative. We should avoid anything containing alcohol, which desiccates healing tissue and delays epithelial regeneration. Choose products with minimal ingredients for the cleanest outcome.
How to Bandage and Protect the Burned Skin
After applying a topical treatment, we’ll want to cover the burn with a non-stick sterile bandage or a clean, lint-free cloth to protect the skin from friction, contamination, and further irritation. Selecting the right burn dressing matters — avoid adhesive materials that adhere directly to the wound, as removing them disrupts fragile new tissue and impairs skin healing. We’ll secure the dressing loosely to allow adequate airflow, which supports cellular regeneration without creating a moisture-deficient environment. Change the dressing daily or whenever it becomes wet or soiled. During each change, inspect the site for signs of infection: increasing redness, swelling, purulent discharge, or warmth extending beyond the burn margins. These findings warrant prompt medical evaluation rather than continued self-treatment.
Warning Signs That Mean You Need a Doctor
Several warning signs indicate that a burn requires professional medical evaluation rather than continued home care. Attempting to manage these situations independently can compromise the healing process and introduce serious complications.
Seek immediate medical attention if you notice:
- Increased pain, swelling, or redness spreading beyond the original burn site
- Signs of infection, including pus, foul odor, or fever above 100.4°F (38°C)
- Burns covering large surface areas or affecting the face, hands, feet, genitals, or major joints
- Inadequate pain management despite appropriate over-the-counter analgesics
We must also recognize that burns in children, elderly individuals, or immunocompromised patients warrant earlier professional assessment. When doubt exists about burn severity or progression, consulting a healthcare provider remains the safest, most clinically sound decision.
Frequently Asked Questions
How Long Does a First-Degree Burn Typically Take to Fully Heal?
First-degree burn healing time typically spans three to five days. Your skin regeneration process replaces damaged epidermal cells efficiently when you keep the area moisturized, protected from sun exposure, and free from further irritation.
Can Children and Infants Be Treated for Burns the Same Way?
Verily, we shouldn’t treat children’s burns identically to adults’. Pediatric first aid and burn treatment guidelines recommend we avoid ice, limit cooling time, and seek prompt medical evaluation, as infants’ skin differs greatly in sensitivity and healing response.
Are There Any Home Remedies Proven to Speed up Burn Healing?
Two home remedies we’ve found evidence for are aloe vera, which reduces inflammation, and honey benefits wound healing through its antimicrobial properties. Both can effectively accelerate minor first-degree burn recovery when applied topically.
Can Sun Exposure Worsen a Healing First-Degree Burn Over Time?
Sun’s golden touch can compromise your healing process. We recommend diligent sun protection on recovering skin, as UV exposure disrupts cellular repair, causes hyperpigmentation, and greatly delays tissue regeneration in healing first-degree burns.
Is It Safe to Exercise or Sweat With a Healing Burn?
We recommend avoiding intense exercise during early burn care, as sweat impact can irritate healing tissue, delay recovery, and introduce infection risk. Once the burn’s epithelialized, moderate activity’s generally safe.
Conclusion
We’ve covered everything you need to handle a minor first-degree burn with confidence. Think of proper burn care as a ladder—skip a rung, and recovery gets harder. We start by cooling the skin correctly, protect it with appropriate topical agents, and keep it bandaged against contamination. Most importantly, we don’t ignore escalating symptoms. Follow these evidence-based steps consistently, and you’ll support ideal tissue healing while minimizing infection risk.
Dealing with burns
When Skin Meets Fire: First Aid Steps That Save You
Published
1 month agoon
July 27, 2026
The instant skin meets fire, we run cool—not cold—water over the burn for 10 to 20 minutes; skip ice, butter, or oils. We assess severity: redness signals first-degree, blisters mean second-degree, charred or leathery skin indicates third-degree. We apply proven ointments, cover with non-stick gauze, and wrap loosely. Third-degree burns, or those affecting the face, hands, or joints, demand emergency care. We’ll walk you through each critical step ahead.
Cool the Burn Down Immediately
Run cool—not cold—water over the burn for 10 to 20 minutes. This is the single most effective immediate response you can execute. We deliberately avoid ice or ice water; extreme cold constricts blood vessels and can deepen tissue damage, compounding the injury rather than mitigating it.
Among burn cooling methods, running water outperforms wet cloths or submersion because it continuously carries heat away from the tissue instead of trapping it. If running water isn’t accessible, we apply a clean, cool—not frozen—compress and change it frequently to maintain steady thermal transfer.
Never apply butter, oil, or ice directly. These substances trap heat, introduce contaminants, or cause additional cellular injury. Cooling first; everything else follows.
Know Your Burn’s Severity Before Treating It
Before we treat any burn, we need to classify it, because the depth of tissue damage dictates every decision that follows. Burn classification breaks down into three degrees. First-degree burns damage only the epidermis—we’ll see redness, mild swelling, no blisters. Second-degree burns extend into the dermis, producing blisters, intense pain, and a wet, glossy appearance. Third-degree burns destroy both layers entirely; we’ll notice charred, white, or leathery skin, often with little pain due to nerve destruction.
Our injury assessment must also account for surface area and location. Burns covering large portions of the body, or affecting the face, hands, joints, or genitals, escalate severity regardless of depth. This classification determines whether we manage the injury ourselves or seek emergency care immediately.
What to Put on a Burn (and What to Avoid)
Once we’ve classified the burn, we’re ready to choose what touches it—and the wrong choice can deepen tissue damage or invite infection. For first- and shallow second-degree burns, we apply thin layers of proven burn ointments—silver sulfadiazine or antibiotic petroleum-based formulas—then cover with non-stick sterile gauze. We avoid popular home remedies that sabotage healing:
- Butter or oils, which trap heat and promote bacterial growth
- Toothpaste, which irritates tissue and risks chemical burns
- Ice, which causes vasoconstriction and worsens cellular damage
- Egg whites, which introduce salmonella risk to open wounds
- Cotton balls, which shed fibers into the wound bed
We reserve occlusive dressings for burns we’ve confirmed are superficial, since trapping moisture over deeper wounds accelerates bacterial proliferation and complicates our assessment.
Bandage and Protect the Wound Properly
We wrap the burn loosely, never tightly, since swelling can turn a snug bandage into a tourniquet within hours. Before dressing, we prioritize wound cleaning: gentle irrigation with cool water removes debris without disrupting fragile tissue. We avoid cotton balls or fibrous materials that shed into the wound bed, opting instead for non-adherent gauze that won’t fuse to healing skin.
Dressing techniques matter as much as the dressing itself. We secure edges with paper tape, not directly over the burn, and reassess fit every few hours as swelling progresses.
| Dressing Layer | Purpose |
|---|---|
| Non-stick gauze | Protects wound bed |
| Secondary wrap | Absorbs drainage |
| Tape (edges only) | Secures without constriction |
We change dressings daily, watching for seepage, odor, or increased redness signaling infection.
When a Burn Needs Emergency Care
Good bandaging technique only matters if the burn qualifies for home care in the first place, and some injuries demand immediate medical intervention instead of a dressing kit. We rely on burn classification to make that call, not guesswork. Any third-degree burn, regardless of size, requires emergency care immediately.
Call 911 or get to an ER if we notice:
- Charred, white, or leathery skin texture
- Burns covering more than 3% of body surface area
- Involvement of the face, hands, feet, groin, or major joints
- Chemical burns or electrical burn mechanisms
- Signs of shock: rapid pulse, confusion, or pale, clammy skin
We don’t wait to see if symptoms worsen. Delayed treatment increases infection risk and compromises tissue recovery, so we act on these criteria without hesitation.
Frequently Asked Questions
Can Burns Cause Permanent Scarring Even With Proper Treatment?
Yes, we recognize that deeper burn depth increases scarring risk regardless of care quality. We consider scarring factors like genetics, wound infection, and healing time—proper treatment minimizes but doesn’t always eliminate scar formation entirely.
Should You Pop a Burn Blister Yourself?
No, we don’t recommend popping it. Coincidentally, intact blisters serve as nature’s own dressing. Proper burn care means leaving blisters alone; skilled blister management prevents infection, preserves the skin barrier, and accelerates healing outcomes.
How Long Does a Minor Burn Take to Heal?
Most first-degree burns heal within 3-6 days; superficial second-degree burns typically take 2-3 weeks. We recommend tracking your burn healing timeline closely—proper minor burn care, including cleanliness and moisture balance, greatly accelerates tissue regeneration and minimizes scarring risk.
Is It Safe to Shower Normally With a Healing Burn?
Yes, but we recommend modifying your routine. Keep shower temperature lukewarm—never hot—and avoid direct water pressure on the wound. Use gentle cleaning techniques: pat, don’t scrub, and skip soaps or scented products until healing progresses further.
Do Burns Increase the Risk of Infection Long-Term?
Yes—we recognize burn infection risk persists until re-epithelialization completes. Deeper burns compromise barrier function longer, inviting bacterial colonization. We monitor for delayed healing, hypertrophic scarring, and contracture, since untreated infection amplifies these long term effects considerably.
Conclusion
We’ve all heard the myth that butter or ice belongs on a burn. It doesn’t. Cool water, clean coverage, and honest severity assessment—that’s the formula that actually works. We can’t undo the burn, but we can control what happens next. When we act fast and correctly, we’re not just easing pain; we’re preventing infection and scarring. That’s the real first aid truth worth trusting.
Dealing with burns
Skin Burn Emergencies? Here’s Your First Aid Game Plan
Published
1 month agoon
July 24, 2026
First, we assess: redness signals first-degree, blisters mean second-degree, and white or charred skin indicates third-degree. We cool the burn under running water for 10-20 minutes—never ice—then clean it gently and cover it with loose, sterile gauze. We manage pain with elevation and OTC analgesics, watching closely for infection or worsening symptoms. Chemical burns, electrical burns, and high-risk locations bypass DIY entirely. Stick with us, and we’ll walk you through each critical step.
Figure Out How Bad the Burn Really Is
How do we determine when a burn is serious? We start with burn classification. First-degree burns redden skin without blistering—think mild sunburn. Second-degree burns blister and involve deeper tissue damage, causing intense pain and swelling. Third-degree burns destroy all skin layers, often appearing white, leathery, or charred, and may numb the area due to nerve damage.
We assess severity indicators beyond depth alone. Size matters: burns covering more than 3 inches demand professional evaluation. Location matters too—face, hands, feet, groin, and major joints carry higher risk. We check for signs of infection, shock, or difficulty breathing if smoke inhalation’s involved.
We never guess. We classify precisely, then act according to what that classification demands.
Cool the Burn the Right Way (Skip the Ice)
Water does the work here, not ice. We run cool—not cold—tap water over the burn for 10 to 20 minutes, prioritizing this window above all other burn cooling methods. Ice damages tissue further by constricting blood vessels and deepening injury; we never use it, and we skip ice packs entirely.
We submerge the area or apply a clean, wet compress if submersion isn’t practical. Timing matters: we start cooling immediately, before evaluating severity further, since delayed action increases tissue damage. Among effective home remedies, plain water remains unmatched—we avoid butter, oil, or toothpaste, which trap heat and invite infection.
Once cooling’s complete, we pat the area dry gently and move straight to covering it, never rubbing or applying pressure to compromised skin.
Clean and Cover the Wound Properly
With cooling finished, we shift focus to keeping the wound clean and shielded from contamination. Wound cleaning starts with gently rinsing the area using lukewarm water—never scrub, and never apply soap directly to broken skin. We pat the area dry with a clean, lint-free cloth, avoiding any friction that could disrupt healing tissue.
Next, we address proper dressing. We select a sterile, non-stick gauze pad and secure it loosely with medical tape, ensuring the burn isn’t compressed. Tight wrapping restricts circulation and invites complications. For blistered or open burns, we opt for a non-adherent dressing to prevent tearing tissue during future changes.
We replace dressings daily, or sooner if they become wet or soiled, maintaining a consistently clean barrier against infection.
Ease the Pain Without Making It Worse
Pain management comes next, and we approach it methodically rather than reaching for the first remedy at hand. We skip the myths—no butter, no toothpaste, no ice applied directly to skin. These natural remedies cause more tissue damage and complicate healing rather than easing discomfort.
For genuine pain relief, we rely on methods with proven safety:
- Cool (not cold) running water for 10-20 minutes
- Over-the-counter analgesics like ibuprofen or acetaminophen
- Loose, breathable clothing over the wound to prevent friction
- Elevation of the burned area to reduce swelling and throbbing
We monitor pain levels closely. Escalating or unrelieved pain signals we’re dealing with something beyond basic care, and we treat that signal as our cue to seek professional evaluation.
When to Stop DIY and Call a Doctor
Most burns heal fine with home care, but certain warning signs demand we abandon self-treatment immediately. We need to identify symptoms that signal escalation: blistering larger than two inches, charring, or leathery white patches. Burns circling a limb, or covering the face, hands, groin, or joints, require professional evaluation regardless of size.
We seek professional care if pain intensifies after 48 hours instead of easing, or if we spot pus, spreading redness, or fever—clear signs of infection. Chemical and electrical burns bypass DIY protocols entirely; we call for help right away. Any burn impairing movement, sensation, or circulation needs immediate assessment.
When in doubt, we treat it as serious. Underestimating a burn costs far more than a precautionary visit.
Frequently Asked Questions
Can Burn Scars Be Prevented After the Wound Heals?
We can’t guarantee zero scarring, but disciplined scar prevention minimizes it: keep the wound moist, apply silicone sheeting once closed, avoid sun exposure, and start scar treatment early—consistency during remodeling determines your final cosmetic outcome.
Is It Safe to Pop a Burn Blister Myself?
No, we don’t recommend it. Studies show intact blisters heal 40% faster with lower infection risks. Proper blister care means leaving skin intact, applying sterile dressings, and letting nature’s protective barrier do its job.
Should I Remove Clothing Stuck to a Burn?
No, don’t force it. Proper burn care demands you leave adhered fabric intact—forcibly tearing it worsens tissue damage. Instead, we recommend cutting around stuck fabric during clothing removal, then covering the area and seeking professional treatment immediately.
Can I Use Toothpaste or Butter on Burns?
No—we never use toothpaste or butter. Picture grease trapping heat like a lid on a boiling pot: toothpaste myths and butter facts both increase infection risk and worsen tissue damage. We flush with cool water instead.
How Long Does a Minor Burn Take to Heal?
We typically see minor burns heal within 7-10 days when we follow proper healing stages: inflammation, tissue rebuilding, then maturation. We’ll monitor burn pain closely—if it worsens or persists beyond that window, we seek medical evaluation immediately.
Conclusion
We understand burns feel urgent, but panic isn’t a protocol—preparation is. We cool, we clean, we cover, and we watch. That’s the whole game plan: small, deliberate actions instead of frantic guesswork. A minor burn responds to calm, methodical care; a serious one demands we stop the DIY approach and call for help. We don’t gamble with tissue damage. We assess, we act, and we understand exactly when to hand it off.
How First Aid Helps When Choking Hazards Catch You Off Guard
Choking Hazards First Aid: What to Do in Those Scary Seconds
From Grapes to Toys: First Aid Choking Hazards Explained
Concussion Protocols in Contact Sports: Ensuring Athlete Safety and Staying Ahead of Innovations
Understanding the Warning Signs: Recognizing the Early Symptoms of Stroke
Emergency First Aid: Treating Dehydration on the Spot
Trending
-
First aid3 years agoConcussion Protocols in Contact Sports: Ensuring Athlete Safety and Staying Ahead of Innovations
-
stroke victims3 years agoUnderstanding the Warning Signs: Recognizing the Early Symptoms of Stroke
-
First aid3 years agoEmergency First Aid: Treating Dehydration on the Spot
-
First aid3 years agoReturn to Play Guidelines for Children with Minor Head Injuries
-
CPR techniques3 years agoChoking Hazards: What To Do When Someone Can’t Breathe
-
First aid3 years agoInside the Bathroom Battle: Recognizing Diarrhea’s Warning Signs
-
Choking hazards3 years agoThe ABCs of First Aid: Airway, Breathing, Circulation
-
First aid3 years agoFirst Aid for Cuts and Wounds: Cleaning, Dressing, and Infection Prevention