Connect with us

Dealing with burns

Demystifying Scar Formation: Understanding the Process and Prevention Techniques

Published

on

Demystifying Scar Formation: Understanding the Process and Prevention Techniques

The formation of scars, particularly after surgery or injury, is a matter of great concern. Efforts to prevent scars have been the subject of extensive research and exploration.

This article aims to provide an objective and evidence-based overview of strategies and techniques for scar prevention. By understanding the underlying processes involved in scar formation, implementing preoperative preparations, utilizing postoperative care techniques, and exploring non-surgical prevention methods, individuals can make informed decisions regarding scar prevention.

By delving into this topic with accuracy and informative analysis, we hope to empower readers seeking freedom from the burden of scars.

Key Takeaways

– Scar formation involves cellular and molecular events after injury or surgery.
– Factors like age, genetics, and medical conditions can influence scar formation.
– Topical treatments like silicone gels or sheets, corticosteroid injections, laser therapy, and surgical revision techniques are options for scar treatment.
– Preoperative scar management strategies, such as using silicone-based gels or sheets and applying topical corticosteroids or vitamin E preparations, can help prepare the skin for surgery and prevent scars.

Advertisement

Understanding Scar Formation

Scar formation is a complex process involving various cellular and molecular events after injury or surgery. The scar healing process begins with inflammation, which triggers the release of chemical signals that attract immune cells to the site of injury. These immune cells remove debris and dead tissue, creating a clean environment for tissue repair.

Next, fibroblasts migrate to the wound site and start producing collagen, the main component of scars. Collagen fibers are laid down in a disorganized manner initially but gradually become more organized over time. The excess collagen forms a scar that can appear raised, depressed, or discolored compared to normal skin.

The scar healing process can be influenced by various factors such as age, genetics, and the size and depth of the wound. Additionally, certain medical conditions like diabetes or poor nutrition can impair wound healing and increase the risk of abnormal scarring.

Several scar treatment options exist to minimize the appearance of scars. These include topical treatments such as silicone gels or sheets that help flatten and soften scars. Other interventions include corticosteroid injections to reduce inflammation and promote collagen remodeling, laser therapy to improve scar texture and coloration, and surgical revision techniques for more severe or extensive scars.

Understanding these cellular and molecular events involved in scar formation is crucial for developing effective strategies for preventing excessive scarring after injury or surgery. By targeting specific steps in the scar healing process, researchers hope to develop novel therapies that will promote optimal wound healing outcomes while minimizing visible scarring.

Advertisement

Preoperative Preparation for Scar Prevention

The preoperative phase entails a comprehensive preparation process aimed at minimizing the potential for adverse postoperative outcomes. In terms of scar prevention, this phase is crucial as it provides an opportunity to optimize wound healing and minimize scar formation.

Here are three key aspects of preoperative preparation for scar prevention:

1. Patient education: Providing patients with information about proper wound care, lifestyle modifications, and the use of scar prevention products can empower them to actively participate in their own healing process.

2. Optimizing overall health: Prioritizing the patient’s overall health before surgery can promote better wound healing and reduce the risk of complications. This includes managing chronic conditions such as diabetes or hypertension, optimizing nutrition, and addressing any deficiencies that may impede the body’s natural healing processes.

3. Preoperative scar management strategies: Implementing specific preoperative scar management strategies can help prepare the skin for surgery and minimize subsequent scarring. These may include using silicone-based gels or sheets, applying topical corticosteroids or vitamin E preparations, or utilizing pressure garments or dressings.

Advertisement

Postoperative Scar Care Techniques

Appropriate postoperative care measures are essential for optimizing wound healing and minimizing the formation of undesirable outcomes.

Two commonly used techniques for postoperative scar care include scar massage and the use of silicone sheets.

Scar massage is a manual technique that involves applying gentle pressure to the scar tissue. This technique aims to improve blood circulation, break down scar tissue, and promote collagen remodeling. Research suggests that scar massage can effectively decrease scar thickness and improve overall scar appearance.

Silicone sheets are another popular approach in postoperative scar care. These sheets are made from medical-grade silicone and are applied directly to the healing wound or surgical incision. Silicone sheets create a protective barrier over the scar, which helps to hydrate the skin, reduce inflammation, and regulate collagen production. Additionally, they exert mechanical pressure on the scar tissue, which may aid in flattening raised scars.

Several studies have shown positive outcomes with both scar massage and silicone sheet therapy in reducing hypertrophic scars and keloids after surgery or injury. However, further research is needed to determine their long-term effects on various types of scars.

Advertisement

Non-Surgical Scar Prevention Methods

Non-surgical methods for minimizing the development of undesirable outcomes on the skin after surgery or injury have been extensively studied. These methods aim to prevent scars from forming or reduce their visibility using non-invasive approaches.

Here are three non-surgical scar prevention techniques:

1. Scar prevention products: Various scar prevention products, such as silicone gels and sheets, have gained popularity in recent years. These products create a protective barrier over the healing wound, helping to retain moisture and provide an optimal environment for proper healing. Additionally, they may help flatten and soften existing scars.

2. Natural scar remedies: Some individuals prefer natural remedies to minimize scarring. Examples include applying honey or aloe vera gel directly onto the wound site. These substances possess anti-inflammatory properties that may promote wound healing and reduce inflammation, potentially leading to less noticeable scars.

3. Massage therapy: Regularly massaging the area around a healing wound can help improve blood circulation and break down scar tissue that has formed underneath the skin’s surface. This technique aims to promote collagen production and align newly-formed fibers in an organized manner, resulting in a smoother appearance of the scar.

Advertisement

While these non-surgical methods show promise in preventing undesirable scarring outcomes, it is important to note that individual responses may vary. Therefore, consulting with a healthcare professional is recommended before implementing any scar prevention regimen.


Frequently Asked Questions (FAQs)

Are There Any Over-The-Counter Creams or Ointments That Can Effectively Prevent Scars?

The effectiveness of over-the-counter scar prevention creams and ointments in preventing scars is a topic of interest. Research suggests that some products may have potential, but further studies are needed to establish their efficacy.

How Soon After Surgery or Injury Should Scar Prevention Techniques Be Started?

The optimal timing for initiating scar prevention techniques after surgery or injury is a topic of interest. It is important to explore the effectiveness of scar prevention creams and ointments in order to establish evidence-based recommendations.

Advertisement

Can Scar Prevention Methods Be Used on All Types of Scars, Including Keloids?

Scar prevention methods can be used on various types of scars, including keloids. Treatment options for keloids include topical silicone gel sheets, corticosteroid injections, cryotherapy, and surgical excision combined with other modalities. Acne scars can also benefit from scar prevention techniques.

Is There Any Evidence to Suggest That Scar Massage Can Actually Improve the Appearance of Scars?

The efficacy of scar massage in improving the appearance of scars remains a subject of inquiry. Research is needed to establish if scar massage has a significant impact on scar prevention and if it is an effective strategy for enhancing scar aesthetics.

Are There Any Natural Remedies or Homeopathic Treatments That Can Help Prevent Scars?

Advertisement

The effectiveness of natural remedies and homeopathic treatments in preventing scars is a topic of interest. Research exploring the potential benefits and drawbacks of such interventions is necessary to provide evidence-based recommendations.


Conclusion

Scars can be a significant concern for individuals who have undergone surgery or experienced an injury. Understanding the process of scar formation is crucial in preventing their development. Preoperative preparation plays a vital role in scar prevention, as it allows for optimal wound healing conditions.

Postoperative care techniques such as proper wound dressing and gentle massage can also aid in minimizing scars. Additionally, non-surgical methods like silicone gel sheets and laser therapy have shown promising results in scar prevention.

Advertisement
Continue Reading
Advertisement

Dealing with burns

How to Safely Treat a Minor First-Degree Burn

Published

on

How to Safely Treat a Minor First-Degree Burn

Most first-degree burns heal well at home when we treat them quickly and correctly. We run cool water over the burn for 10–20 minutes, avoiding ice or butter, which worsen tissue damage. We then apply aloe vera gel or petroleum jelly and cover it loosely with a sterile, non-stick bandage. We watch for spreading redness, pus, or fever, which signal infection. There’s much more to know about each step of this process.

How to Tell If Your Burn Is First-Degree

First-degree burns affect only the outermost layer of skin, the epidermis, and are the least severe of all burn classifications. Recognizing burn symptoms early guarantees we initiate appropriate care and supports an ideal healing process. You’ll typically observe redness, minor swelling, and localized pain at the site—there’s no blistering, which distinguishes first-degree burns from second-degree injuries. The skin remains intact, dry, and may appear slightly shiny. Causes commonly include brief contact with hot surfaces, mild sunburn, or quick steam exposure. Pain usually subsides within hours, and the healing process completes in three to five days without scarring. If you’re uncertain about the burn’s classification or notice worsening symptoms, consult a healthcare provider immediately for professional assessment.

Cool the Burn Down the Right Way

Once we’ve identified a burn as first-degree, our immediate priority shifts to cooling the affected tissue correctly. Improper cooling worsens tissue damage, so precision matters.

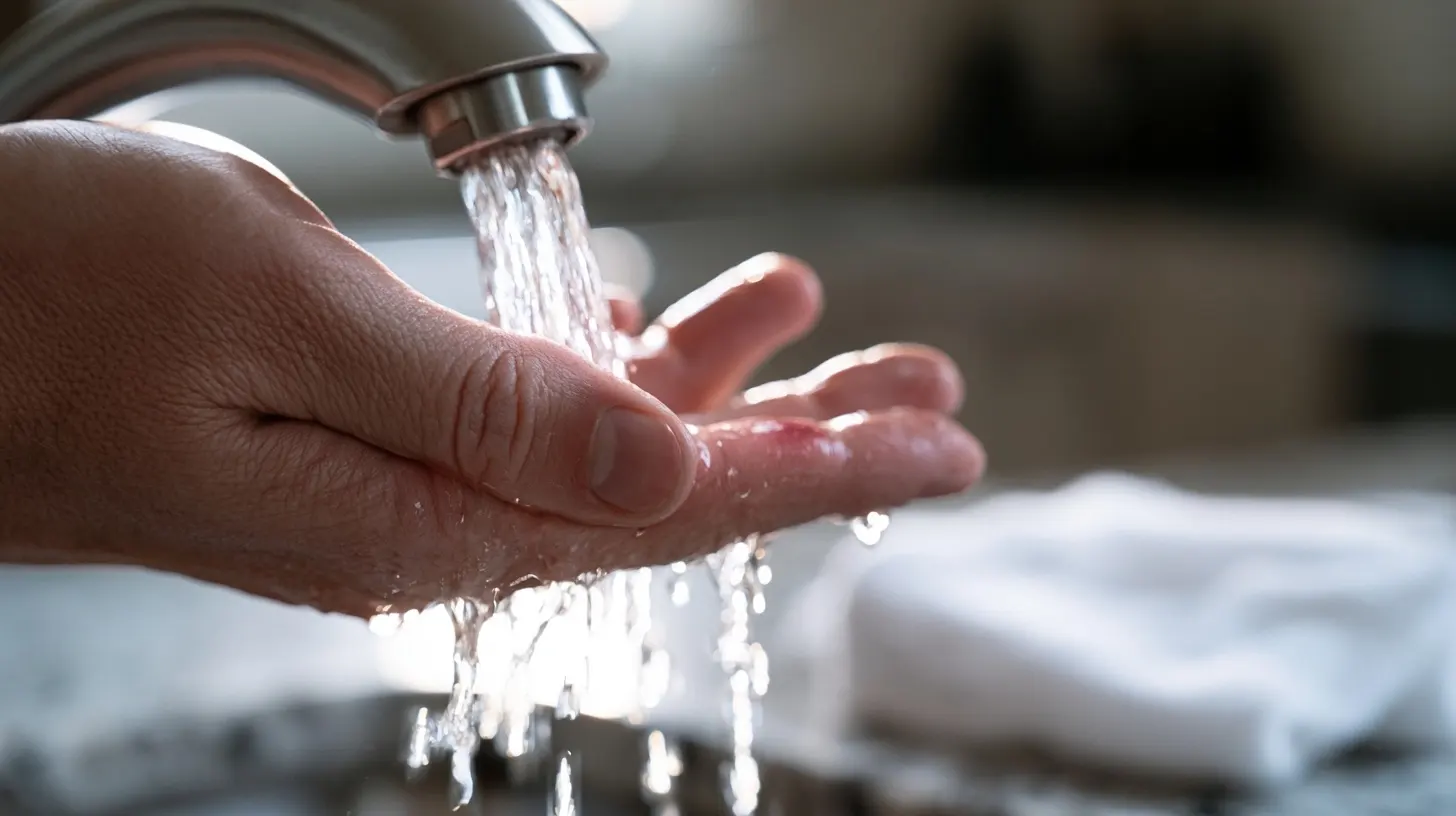
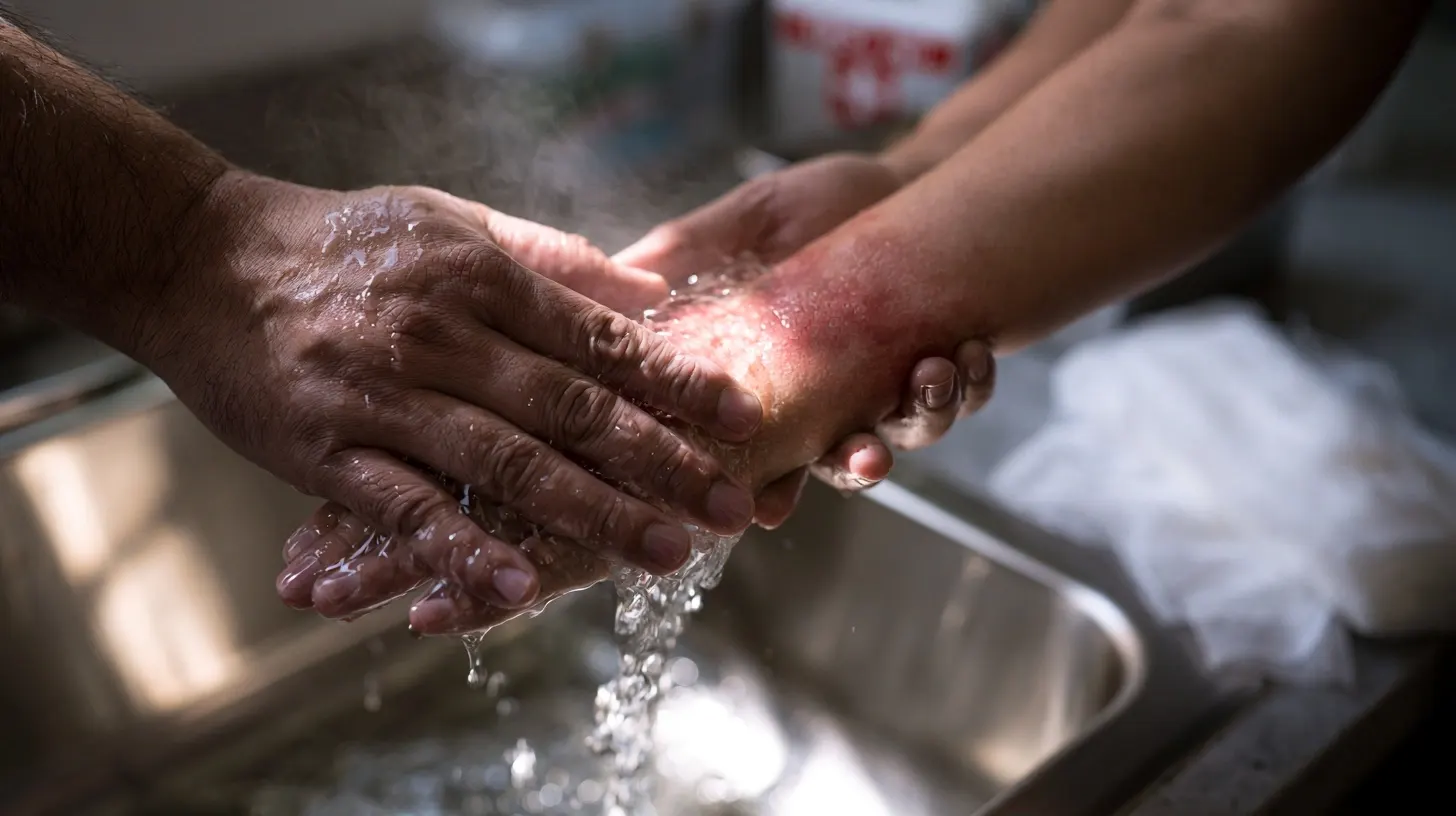
Run cool (not cold) water over the burn for 10–20 minutes. Avoid ice, butter, or toothpaste—these intensify cellular injury.

Advertisement
Method Recommended?
Cool running water (15–20°C) ✅ Yes
Cold compresses ✅ Yes
Ice packs directly on skin ❌ No
Butter or oils ❌ No
Soothing ointments (aloe vera) ✅ Yes

Cold compresses offer a controlled alternative when running water isn’t accessible—apply for 10-minute intervals. Once cooled, soothing ointments like pure aloe vera gel reduce inflammation and support epidermal recovery without occluding the wound.

What to Put on a First-Degree Burn

Topical treatment determines how well the skin heals after cooling. We recommend avoiding common home remedies like butter, toothpaste, or oil-based products—these trap heat, introduce bacteria, and impair healing. Evidence consistently shows these substances worsen outcomes rather than improve them.

Instead, we should apply over-the-counter treatments that support the skin’s recovery. Aloe vera gel remains the most evidence-backed option, reducing inflammation while maintaining moisture balance. A thin layer of petroleum jelly also works effectively, creating a protective barrier without clogging pores or disrupting cellular repair.

If aloe or petroleum jelly aren’t available, a fragrance-free, water-based moisturizer is an acceptable alternative. We should avoid anything containing alcohol, which desiccates healing tissue and delays epithelial regeneration. Choose products with minimal ingredients for the cleanest outcome.

How to Bandage and Protect the Burned Skin

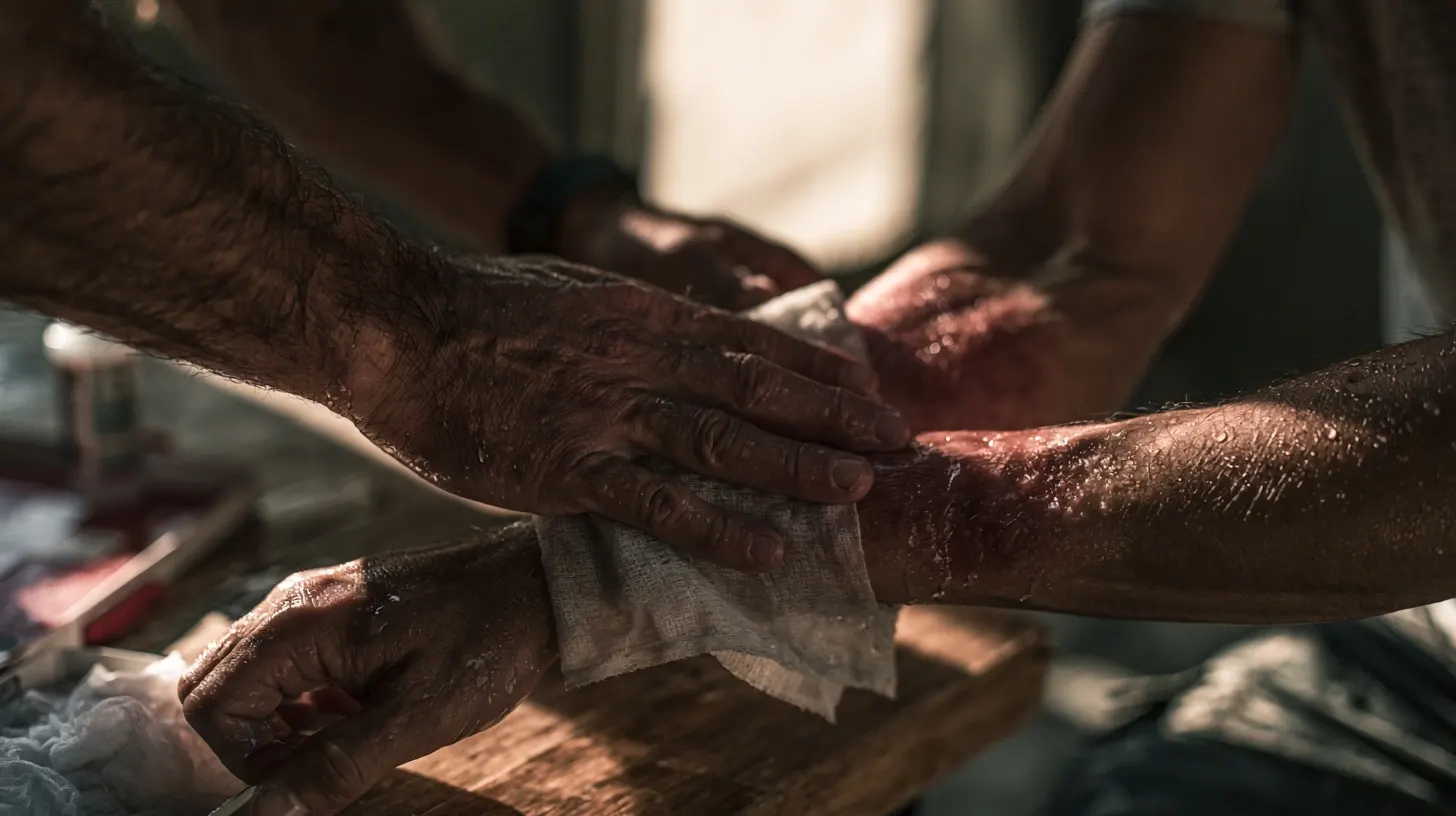
After applying a topical treatment, we’ll want to cover the burn with a non-stick sterile bandage or a clean, lint-free cloth to protect the skin from friction, contamination, and further irritation. Selecting the right burn dressing matters — avoid adhesive materials that adhere directly to the wound, as removing them disrupts fragile new tissue and impairs skin healing. We’ll secure the dressing loosely to allow adequate airflow, which supports cellular regeneration without creating a moisture-deficient environment. Change the dressing daily or whenever it becomes wet or soiled. During each change, inspect the site for signs of infection: increasing redness, swelling, purulent discharge, or warmth extending beyond the burn margins. These findings warrant prompt medical evaluation rather than continued self-treatment.

Advertisement

Warning Signs That Mean You Need a Doctor

Several warning signs indicate that a burn requires professional medical evaluation rather than continued home care. Attempting to manage these situations independently can compromise the healing process and introduce serious complications.

Seek immediate medical attention if you notice:

  • Increased pain, swelling, or redness spreading beyond the original burn site
  • Signs of infection, including pus, foul odor, or fever above 100.4°F (38°C)
  • Burns covering large surface areas or affecting the face, hands, feet, genitals, or major joints
  • Inadequate pain management despite appropriate over-the-counter analgesics

We must also recognize that burns in children, elderly individuals, or immunocompromised patients warrant earlier professional assessment. When doubt exists about burn severity or progression, consulting a healthcare provider remains the safest, most clinically sound decision.


Frequently Asked Questions

How Long Does a First-Degree Burn Typically Take to Fully Heal?

First-degree burn healing time typically spans three to five days. Your skin regeneration process replaces damaged epidermal cells efficiently when you keep the area moisturized, protected from sun exposure, and free from further irritation.

Can Children and Infants Be Treated for Burns the Same Way?

Verily, we shouldn’t treat children’s burns identically to adults’. Pediatric first aid and burn treatment guidelines recommend we avoid ice, limit cooling time, and seek prompt medical evaluation, as infants’ skin differs greatly in sensitivity and healing response.

Are There Any Home Remedies Proven to Speed up Burn Healing?

Two home remedies we’ve found evidence for are aloe vera, which reduces inflammation, and honey benefits wound healing through its antimicrobial properties. Both can effectively accelerate minor first-degree burn recovery when applied topically.

Advertisement

Can Sun Exposure Worsen a Healing First-Degree Burn Over Time?

Sun’s golden touch can compromise your healing process. We recommend diligent sun protection on recovering skin, as UV exposure disrupts cellular repair, causes hyperpigmentation, and greatly delays tissue regeneration in healing first-degree burns.

Is It Safe to Exercise or Sweat With a Healing Burn?

We recommend avoiding intense exercise during early burn care, as sweat impact can irritate healing tissue, delay recovery, and introduce infection risk. Once the burn’s epithelialized, moderate activity’s generally safe.


Conclusion

We’ve covered everything you need to handle a minor first-degree burn with confidence. Think of proper burn care as a ladder—skip a rung, and recovery gets harder. We start by cooling the skin correctly, protect it with appropriate topical agents, and keep it bandaged against contamination. Most importantly, we don’t ignore escalating symptoms. Follow these evidence-based steps consistently, and you’ll support ideal tissue healing while minimizing infection risk.

Advertisement
Continue Reading

Dealing with burns

When Skin Meets Fire: First Aid Steps That Save You

Published

on

When Skin Meets Fire: First Aid Steps That Save You

The instant skin meets fire, we run cool—not cold—water over the burn for 10 to 20 minutes; skip ice, butter, or oils. We assess severity: redness signals first-degree, blisters mean second-degree, charred or leathery skin indicates third-degree. We apply proven ointments, cover with non-stick gauze, and wrap loosely. Third-degree burns, or those affecting the face, hands, or joints, demand emergency care. We’ll walk you through each critical step ahead.

Cool the Burn Down Immediately

Run cool—not cold—water over the burn for 10 to 20 minutes. This is the single most effective immediate response you can execute. We deliberately avoid ice or ice water; extreme cold constricts blood vessels and can deepen tissue damage, compounding the injury rather than mitigating it.

Among burn cooling methods, running water outperforms wet cloths or submersion because it continuously carries heat away from the tissue instead of trapping it. If running water isn’t accessible, we apply a clean, cool—not frozen—compress and change it frequently to maintain steady thermal transfer.

Never apply butter, oil, or ice directly. These substances trap heat, introduce contaminants, or cause additional cellular injury. Cooling first; everything else follows.

Advertisement

Know Your Burn’s Severity Before Treating It

Before we treat any burn, we need to classify it, because the depth of tissue damage dictates every decision that follows. Burn classification breaks down into three degrees. First-degree burns damage only the epidermis—we’ll see redness, mild swelling, no blisters. Second-degree burns extend into the dermis, producing blisters, intense pain, and a wet, glossy appearance. Third-degree burns destroy both layers entirely; we’ll notice charred, white, or leathery skin, often with little pain due to nerve destruction.

Our injury assessment must also account for surface area and location. Burns covering large portions of the body, or affecting the face, hands, joints, or genitals, escalate severity regardless of depth. This classification determines whether we manage the injury ourselves or seek emergency care immediately.

What to Put on a Burn (and What to Avoid)

Once we’ve classified the burn, we’re ready to choose what touches it—and the wrong choice can deepen tissue damage or invite infection. For first- and shallow second-degree burns, we apply thin layers of proven burn ointments—silver sulfadiazine or antibiotic petroleum-based formulas—then cover with non-stick sterile gauze. We avoid popular home remedies that sabotage healing:

  • Butter or oils, which trap heat and promote bacterial growth
  • Toothpaste, which irritates tissue and risks chemical burns
  • Ice, which causes vasoconstriction and worsens cellular damage
  • Egg whites, which introduce salmonella risk to open wounds
  • Cotton balls, which shed fibers into the wound bed

We reserve occlusive dressings for burns we’ve confirmed are superficial, since trapping moisture over deeper wounds accelerates bacterial proliferation and complicates our assessment.

Bandage and Protect the Wound Properly

We wrap the burn loosely, never tightly, since swelling can turn a snug bandage into a tourniquet within hours. Before dressing, we prioritize wound cleaning: gentle irrigation with cool water removes debris without disrupting fragile tissue. We avoid cotton balls or fibrous materials that shed into the wound bed, opting instead for non-adherent gauze that won’t fuse to healing skin.

Dressing techniques matter as much as the dressing itself. We secure edges with paper tape, not directly over the burn, and reassess fit every few hours as swelling progresses.

Advertisement
Dressing Layer Purpose
Non-stick gauze Protects wound bed
Secondary wrap Absorbs drainage
Tape (edges only) Secures without constriction

We change dressings daily, watching for seepage, odor, or increased redness signaling infection.

When a Burn Needs Emergency Care

Good bandaging technique only matters if the burn qualifies for home care in the first place, and some injuries demand immediate medical intervention instead of a dressing kit. We rely on burn classification to make that call, not guesswork. Any third-degree burn, regardless of size, requires emergency care immediately.

Call 911 or get to an ER if we notice:

  • Charred, white, or leathery skin texture
  • Burns covering more than 3% of body surface area
  • Involvement of the face, hands, feet, groin, or major joints
  • Chemical burns or electrical burn mechanisms
  • Signs of shock: rapid pulse, confusion, or pale, clammy skin

We don’t wait to see if symptoms worsen. Delayed treatment increases infection risk and compromises tissue recovery, so we act on these criteria without hesitation.


Frequently Asked Questions

Can Burns Cause Permanent Scarring Even With Proper Treatment?

Yes, we recognize that deeper burn depth increases scarring risk regardless of care quality. We consider scarring factors like genetics, wound infection, and healing time—proper treatment minimizes but doesn’t always eliminate scar formation entirely.

Should You Pop a Burn Blister Yourself?

No, we don’t recommend popping it. Coincidentally, intact blisters serve as nature’s own dressing. Proper burn care means leaving blisters alone; skilled blister management prevents infection, preserves the skin barrier, and accelerates healing outcomes.

Advertisement

How Long Does a Minor Burn Take to Heal?

Most first-degree burns heal within 3-6 days; superficial second-degree burns typically take 2-3 weeks. We recommend tracking your burn healing timeline closely—proper minor burn care, including cleanliness and moisture balance, greatly accelerates tissue regeneration and minimizes scarring risk.

Is It Safe to Shower Normally With a Healing Burn?

Yes, but we recommend modifying your routine. Keep shower temperature lukewarm—never hot—and avoid direct water pressure on the wound. Use gentle cleaning techniques: pat, don’t scrub, and skip soaps or scented products until healing progresses further.

Do Burns Increase the Risk of Infection Long-Term?

Yes—we recognize burn infection risk persists until re-epithelialization completes. Deeper burns compromise barrier function longer, inviting bacterial colonization. We monitor for delayed healing, hypertrophic scarring, and contracture, since untreated infection amplifies these long term effects considerably.


Conclusion

We’ve all heard the myth that butter or ice belongs on a burn. It doesn’t. Cool water, clean coverage, and honest severity assessment—that’s the formula that actually works. We can’t undo the burn, but we can control what happens next. When we act fast and correctly, we’re not just easing pain; we’re preventing infection and scarring. That’s the real first aid truth worth trusting.

Advertisement
Continue Reading

Dealing with burns

Skin Burn Emergencies? Here’s Your First Aid Game Plan

Published

on

Skin Burn Emergencies? Here's Your First Aid Game Plan

First, we assess: redness signals first-degree, blisters mean second-degree, and white or charred skin indicates third-degree. We cool the burn under running water for 10-20 minutes—never ice—then clean it gently and cover it with loose, sterile gauze. We manage pain with elevation and OTC analgesics, watching closely for infection or worsening symptoms. Chemical burns, electrical burns, and high-risk locations bypass DIY entirely. Stick with us, and we’ll walk you through each critical step.

Figure Out How Bad the Burn Really Is

How do we determine when a burn is serious? We start with burn classification. First-degree burns redden skin without blistering—think mild sunburn. Second-degree burns blister and involve deeper tissue damage, causing intense pain and swelling. Third-degree burns destroy all skin layers, often appearing white, leathery, or charred, and may numb the area due to nerve damage.

We assess severity indicators beyond depth alone. Size matters: burns covering more than 3 inches demand professional evaluation. Location matters too—face, hands, feet, groin, and major joints carry higher risk. We check for signs of infection, shock, or difficulty breathing if smoke inhalation’s involved.

We never guess. We classify precisely, then act according to what that classification demands.

Advertisement

Cool the Burn the Right Way (Skip the Ice)

Water does the work here, not ice. We run cool—not cold—tap water over the burn for 10 to 20 minutes, prioritizing this window above all other burn cooling methods. Ice damages tissue further by constricting blood vessels and deepening injury; we never use it, and we skip ice packs entirely.

We submerge the area or apply a clean, wet compress if submersion isn’t practical. Timing matters: we start cooling immediately, before evaluating severity further, since delayed action increases tissue damage. Among effective home remedies, plain water remains unmatched—we avoid butter, oil, or toothpaste, which trap heat and invite infection.

Once cooling’s complete, we pat the area dry gently and move straight to covering it, never rubbing or applying pressure to compromised skin.

Clean and Cover the Wound Properly

With cooling finished, we shift focus to keeping the wound clean and shielded from contamination. Wound cleaning starts with gently rinsing the area using lukewarm water—never scrub, and never apply soap directly to broken skin. We pat the area dry with a clean, lint-free cloth, avoiding any friction that could disrupt healing tissue.

Next, we address proper dressing. We select a sterile, non-stick gauze pad and secure it loosely with medical tape, ensuring the burn isn’t compressed. Tight wrapping restricts circulation and invites complications. For blistered or open burns, we opt for a non-adherent dressing to prevent tearing tissue during future changes.

Advertisement

We replace dressings daily, or sooner if they become wet or soiled, maintaining a consistently clean barrier against infection.

Ease the Pain Without Making It Worse

Pain management comes next, and we approach it methodically rather than reaching for the first remedy at hand. We skip the myths—no butter, no toothpaste, no ice applied directly to skin. These natural remedies cause more tissue damage and complicate healing rather than easing discomfort.

For genuine pain relief, we rely on methods with proven safety:

  • Cool (not cold) running water for 10-20 minutes
  • Over-the-counter analgesics like ibuprofen or acetaminophen
  • Loose, breathable clothing over the wound to prevent friction
  • Elevation of the burned area to reduce swelling and throbbing

We monitor pain levels closely. Escalating or unrelieved pain signals we’re dealing with something beyond basic care, and we treat that signal as our cue to seek professional evaluation.

When to Stop DIY and Call a Doctor

Most burns heal fine with home care, but certain warning signs demand we abandon self-treatment immediately. We need to identify symptoms that signal escalation: blistering larger than two inches, charring, or leathery white patches. Burns circling a limb, or covering the face, hands, groin, or joints, require professional evaluation regardless of size.

We seek professional care if pain intensifies after 48 hours instead of easing, or if we spot pus, spreading redness, or fever—clear signs of infection. Chemical and electrical burns bypass DIY protocols entirely; we call for help right away. Any burn impairing movement, sensation, or circulation needs immediate assessment.

Advertisement

When in doubt, we treat it as serious. Underestimating a burn costs far more than a precautionary visit.


Frequently Asked Questions

Can Burn Scars Be Prevented After the Wound Heals?

We can’t guarantee zero scarring, but disciplined scar prevention minimizes it: keep the wound moist, apply silicone sheeting once closed, avoid sun exposure, and start scar treatment early—consistency during remodeling determines your final cosmetic outcome.

Is It Safe to Pop a Burn Blister Myself?

No, we don’t recommend it. Studies show intact blisters heal 40% faster with lower infection risks. Proper blister care means leaving skin intact, applying sterile dressings, and letting nature’s protective barrier do its job.

Should I Remove Clothing Stuck to a Burn?

No, don’t force it. Proper burn care demands you leave adhered fabric intact—forcibly tearing it worsens tissue damage. Instead, we recommend cutting around stuck fabric during clothing removal, then covering the area and seeking professional treatment immediately.

Can I Use Toothpaste or Butter on Burns?

No—we never use toothpaste or butter. Picture grease trapping heat like a lid on a boiling pot: toothpaste myths and butter facts both increase infection risk and worsen tissue damage. We flush with cool water instead.

Advertisement

How Long Does a Minor Burn Take to Heal?

We typically see minor burns heal within 7-10 days when we follow proper healing stages: inflammation, tissue rebuilding, then maturation. We’ll monitor burn pain closely—if it worsens or persists beyond that window, we seek medical evaluation immediately.


Conclusion

We understand burns feel urgent, but panic isn’t a protocol—preparation is. We cool, we clean, we cover, and we watch. That’s the whole game plan: small, deliberate actions instead of frantic guesswork. A minor burn responds to calm, methodical care; a serious one demands we stop the DIY approach and call for help. We don’t gamble with tissue damage. We assess, we act, and we understand exactly when to hand it off.

Continue Reading

Trending